Showing posts with label fun. Show all posts

Sunday, June 2, 2013

June Film DIY


Once again, this week's film DIY comes from our friends at Photojojo! We love their creative ideas.

Make A Film Canister Bracelet

Extra photos for bloggers: 123
What’s your photo sign? Black and white? Maybe you’re a die-hard Fuji fan. Or it’s Kodak Portra that really makes you swoon.
This DIY film canister bracelet will tell your new photo friends what your favorites are! They won’t even have to ask.
With a little plying, you’ll be able to recycle your film canisters into jelly-worthy cuffs.
We can see it now. New friendships blooming over your shared love of grain!
p.s. Having trouble finding time to learn more about photography in your packed scheddy? Check out our pals at the New York Institute of Photography! They have primo classes you can take from anywhere on your own time.

WHY IT’S COOL:

ingred-smSports fans have their favorite jerseys, music junkies have their favorite band-tee from that epic tour, and photogs have…camera straps?
We all love to show our pride for our favorite things in life, and this film canister bangle is a great way to do just that.
It’s super simple and customizable. Whether you’re a diehard black & white fan ready to ditch your color vision, or a slide film lover who isn’t willing to wear a shirt that’s a transparency, this film bangle is an awesome way to show off your favorite film.

INGREDIENTS:

paint-sm
  • Two Empty Film Canisters
  • A Can Opener
  • Pliers
  • Super glue or other effective adhesive
  • A ruler or straight edge

STEP 1: POPPING THE ENDS OFF THE CANISTER

paint-smTake your can opener and use it to pull off each end of the canister. It might take a little bit of force, but try to be gentle in order to keep the canister in good condition.

STEP 2: SPREAD THE CANISTER OUT

paint-smNow that you have the ends off of the canister, spread it flat. The canister might kink or dent if you pull it too quickly or strongly, so be nice!

STEP 3: FOLD IN THE EDGE

paint-smThe sides of the canister can be pretty sharp, so we’re going to crimp then in with a set of pliers. This also gives your bangle a little more rigidity so it won’t bend out of shape.
First, take your pliers and fold in the edge along the entire length and on either side. You don’t want to cover up what your canister looks like, so only do this for a thin strip. It should fold in to an angle just past 90 degrees.

STEP 4: PRESS DOWN THE EDGE

paint-smHere’s where you need your ruler. The pliers might mark up the canister, so place it on the ruler with the label facing down.
Take your pliers and clamp down on the edge so that it’s nice and flat. Do this along the entire length and on either side.

STEP 5: STICK THEM TOGETHER

paint-smAdd some super glue or other effective adhesive onto the end of each canister and stick them together. Then, bend them around your wrist so that it’s shaped like a bracelet.
You’re done! Go rock the look.

TAKE IT FURTHER

  • Make a belt: use a bunch of canisters to make a canister belt!
  • Make a braided bracelet: cut the canisters into snips and try to weave them together!
  • Make a charm bracelet: cut the canister into small pieces and make little charms to string together. One for each type of film!
  • Make a USB Film Roll: It’s a USB stick inside a film canister!
  • Make a Film Roll Magnet: stick those to-do lists on the fridge with your favorite film canisters!
Thank you for reading, and give our friends at Photojojo some love! 


Article by Photojojo
Copyright 2013
Analog Revival

Sunday, May 5, 2013

May Film DIY

Happy May everybody! We hope you're enjoying the nice weather, unless you're in MinneSNOWta like us. We saw this article from our friends at Photojojo and had to share it. We hope you enjoy these tips on scanning your own film! All credit for this article goes to Photojojo, we did not write this article.

Film Grains Meet Digital Pixels: A Complete Guide to Scanning Film


Extra photos for bloggers: 123
iPhones, and internets, and ion implanters! Oh my!
In this tech-savvy world we can return to 100%-analog-photog-goodness and transform them to digital with some simple scanner-wizardry.
This handy guide will show you how to scan your film, merging all of the sweetest parts of analog with the ease and shareability of digital.
The best part? You don’t have to know a thing about rocket science to follow along.
Learn How to Scan Film!
p.s. Our buddies at Printstagram make some of the bestest Instagram prints we’ve seen! You can make it happen right from your phone.

WHY IT’S COOL:

paint-smWe all know the benefits of analog photography: slower pace, limited number of frames, and those old cameras are just plain fun to use.
The only downside? Your inner tech maven is crying out for all of those lost shares on Facegram, instabook, and PinTube! Or something like that.
This guide will equip you with the tools to get started on making film grains best friends with digital pixels.

INGREDIENTS:

ingred-sm
  • Film Scanner (We used a flatbed Epson V600.)
  • A computer
  • Developed 35mm film
  • Dust Blower, Microfiber Cloth, or Anti-Static Brush

FLATBED SCANNERS VS. DEDICATED FILM SCANNERS

paint-smThere are a few brands of scanners, but they mostly fit into two categories for consumers: flatbed scanners and dedicated film scanners.
This article will be dealing specifically with an Epson V600 flatbed scanner, but many of the techniques will still apply, especially to other flatbeds!
Here’s a quick rundown of the pros and cons of a flatbed scanner.
  • Cost: For the most part, a flatbed is a very reasonable option in terms of price and quality.
  • Uses: In addition to being affordable, many flatbeds are able to do both 120 and 35mm, something usually reserved for very expensive dedicated scanners.
  • Ability: Flatbed scanners are certainly capable of great results, but a dedicated scanner is always better. After all, that’s what it’s built for!

STEP 1: PREPPING THE FILM

paint-smHere’s what we need to do to the film in order to ensure the best scan.
Dust bunnies sound cute, but for scanning, they are not your friend! Use a dust blower, a clean microfiber cloth (Extra emphasis on clean! There’s nothing worse than scratched film), or an anti-static brush to get rid of any dust that may have settled on the negative.
Tips for preventing dust:
  • Break Out The White Glove: make sure your working environment is as clean as possible. If there’s no dust in the are to begin with, there won’t be any to go on your film.
  • Pre and Post-Scan Storage: Store your negatives in sleeves or binders to keep exposure to open air as infrequent as possible.
  • Dust During Drying: If you develop your own film, try to limit either the air flow around your film as it dries or the dust in the environment. Wet film and dust stick better than glue!

STEP 2:INSERT FILM INTO THE NEGATIVE HOLDER

paint-smOne of the greatest challenges with scanning is film flatness.
The scanner works a bit like your camera; it focuses on the film to take a “picture” of it. If your film isn’t flat, it’s harder for everything to be in focus. A little curl is manageable.
Place film under a book to flatten unruly negatives, but make sure they’re in a sleeve so they don’t get dusty or scratched.
Each negative holder is a bit different, but here’s how it’s inserted into ours.

STEP 3: PLACE NEGATIVE CARRIER ONTO SCANNER

paint-smThis one’s as easy as it sounds! Each scanner has a specific orientation for the negative carrier depending on the film type.
On the Epson V600, there’s an “A” on the negative carrier that should line up with the “A” on the side scanner bed.
If your scanner doesn’t have markings, make sure to place the negative carrier under the slot of glass in the top of the scanner.

STEP 4: SCANNING SOFTWARE

paint-smThis step will also be specific to your scanner. We’re using the included Epson Scan software in Professional Mode.
Here are the main points:
  • Make sure to choose the “Film” setting and then the appropriate type: black and white, color negative, or positive
  • Choose the resolution: for files that are easy to work with and great for web use, we set ours to 1200 DPI. If you have plenty of space on your harddrive or want to print above an 8×10, scan at a higher resolution to get a larger image
  • Don’t forget to switch on Dust Removal to get any spots you missed earlier
  • First, hit the preview button and let the scanner generate a preview. At this point you can rotate the photo and mirror the image if the film isn’t oriented correctly.
  • Lastly, choose the file format for the scan and you’re good to go! We usually scan ours as jpeg. A TIFF can provide more information, but at the cost of much larger files. If you need to make corrections to a scan it’s a better option, but for many sharing purposes a jpeg is sufficient!
There are a few third party software options for scanning as well, and our favorites are VueScan and Silverfast.
The advantage to these programs is that they offer more customizability and control over the scanning process. Plus, they have some neat tricks such as setting the film stock to try to get the most faithful result. They’re both friends with PC’s and Macs!

STEP 5: FINAL TOUCHES

paint-smOnce the scan is completed, you have a few choices of where to go next. You can take the scan “as is” and go from there, or import into Photoshop, Lightroom, and other editing programs to make some slight changes.
Sometimes a few tweaks are needed after the fact so that the imagined picture lines up with the actual picture!
Some post-scan adjustments
  • Contrast: This is a big one for black and white. Adjust the contrast so that it’s more faithful to the look of the negative
  • Color: Sometimes a scan will have a shift in colors or have an overall color cast that’s undesirable. The curves adjustment will be your BFF. Utilize the separate color channels to get the look right.
  • Sharpness: Sharpness can be detrimentally affected by the scan. Apply a little unsharp mask or boost the sharpening slider in Lightroom to taste.
  • Dust and Scratch Removal: Despite our best efforts, dust can still remain on the negative and sometimes they get scratched as well. An easy way to fix this is to use the healing brush or clone brush in Photoshop.
This isn’t to change the look of the film, but sometimes this information gets skewed in the scan and needs to be returned to the appropriate value.


Copyright 2013
Analog Revival

Sunday, February 3, 2013

February Film DIY

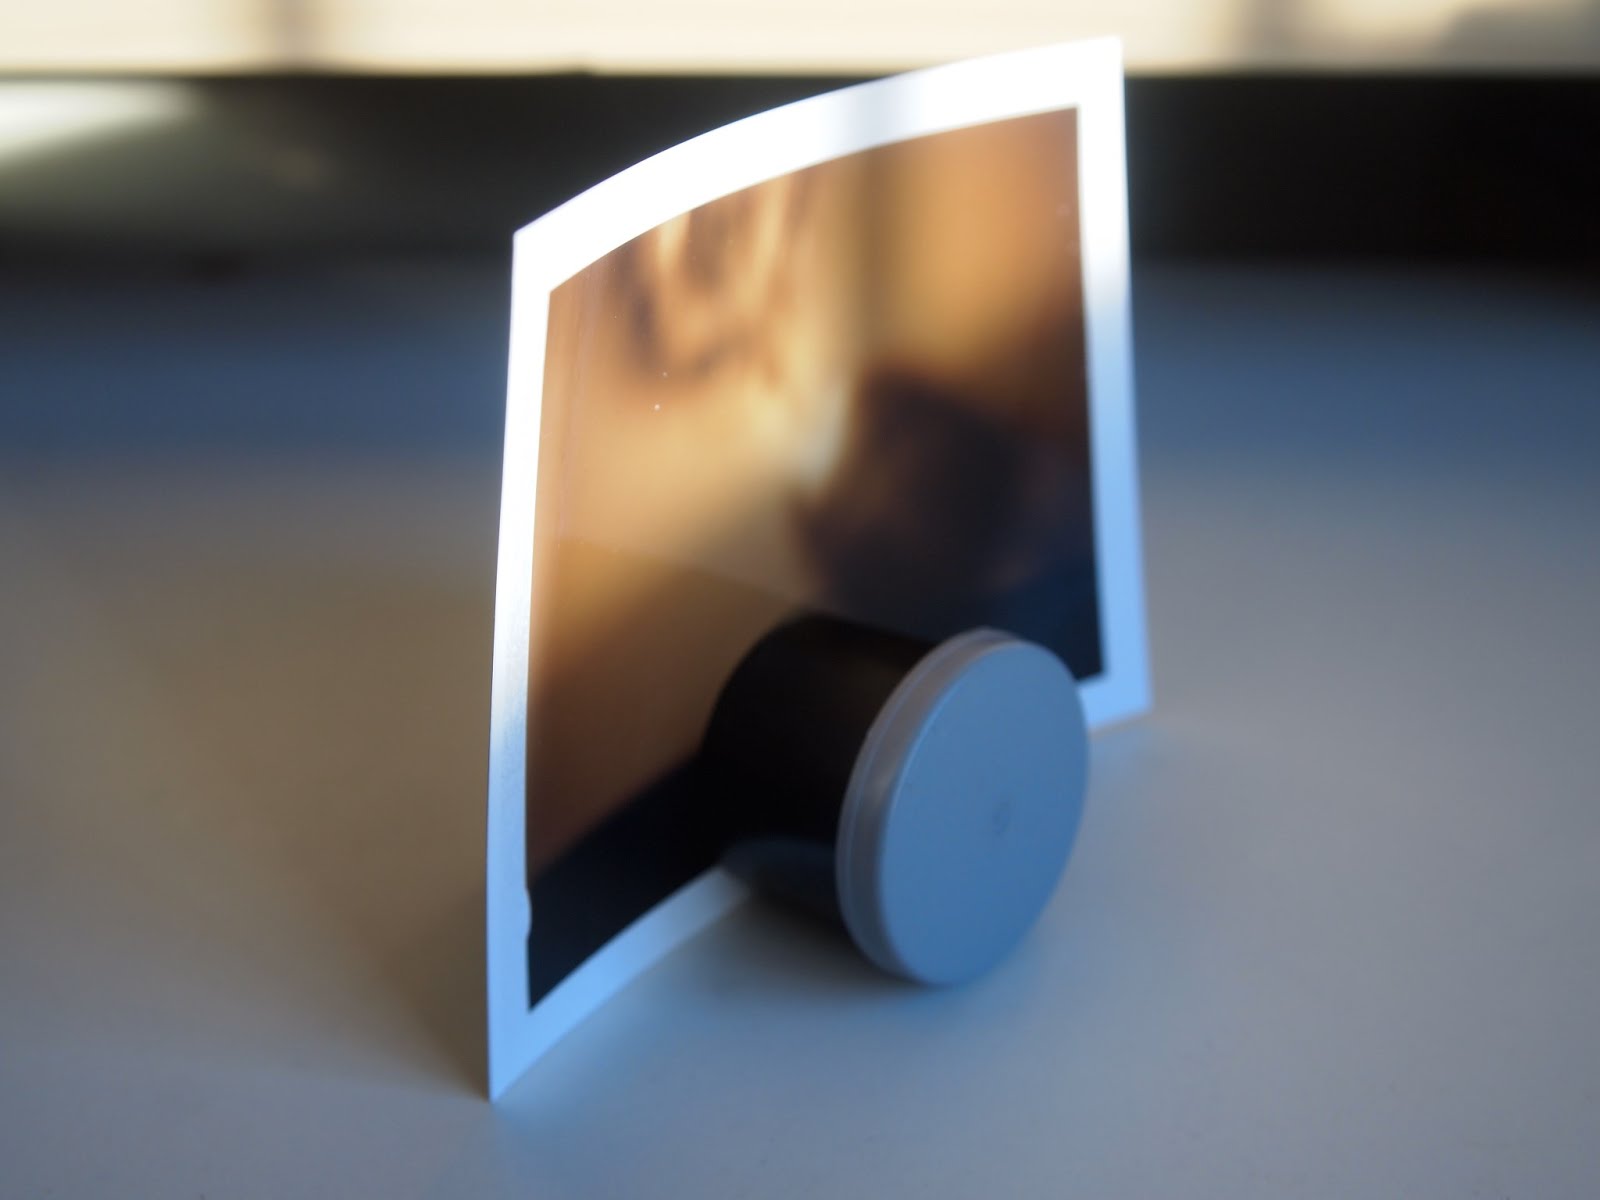
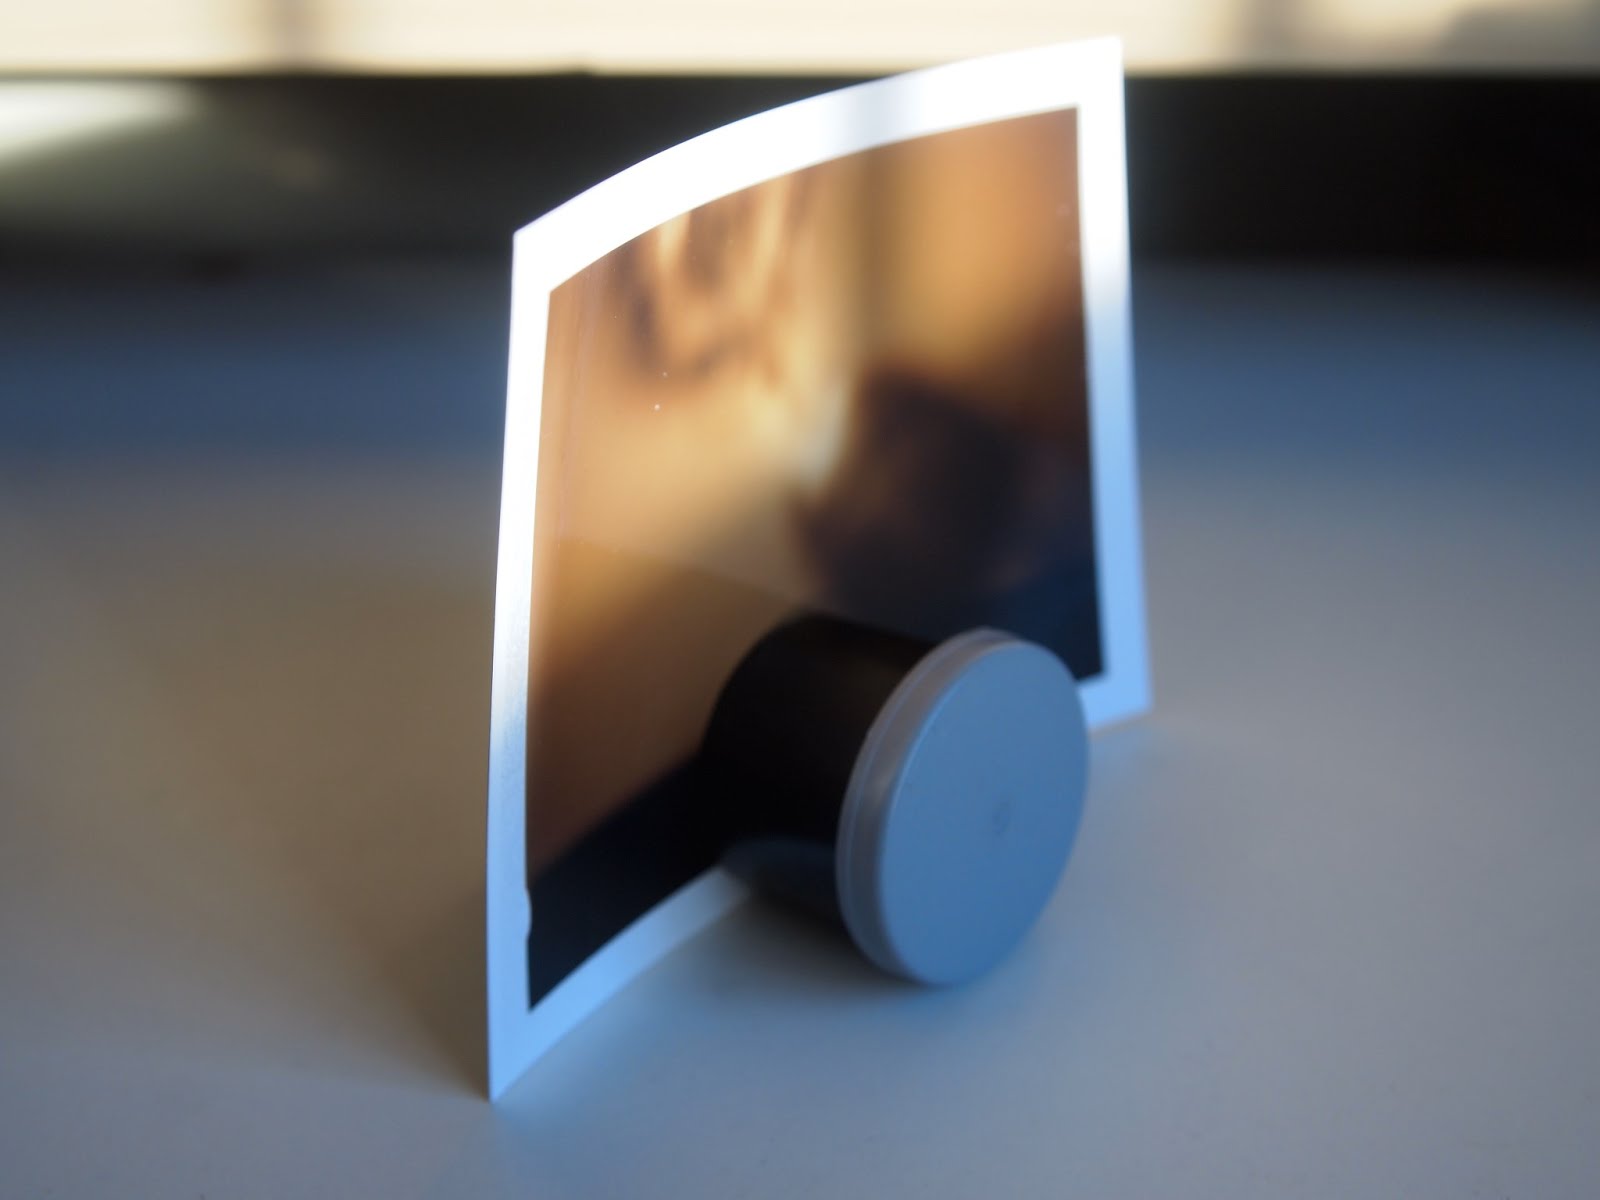
Check out this super simple, super functional film canister photo stand. It only takes a few minutes and it’ll definitely spice up your room!


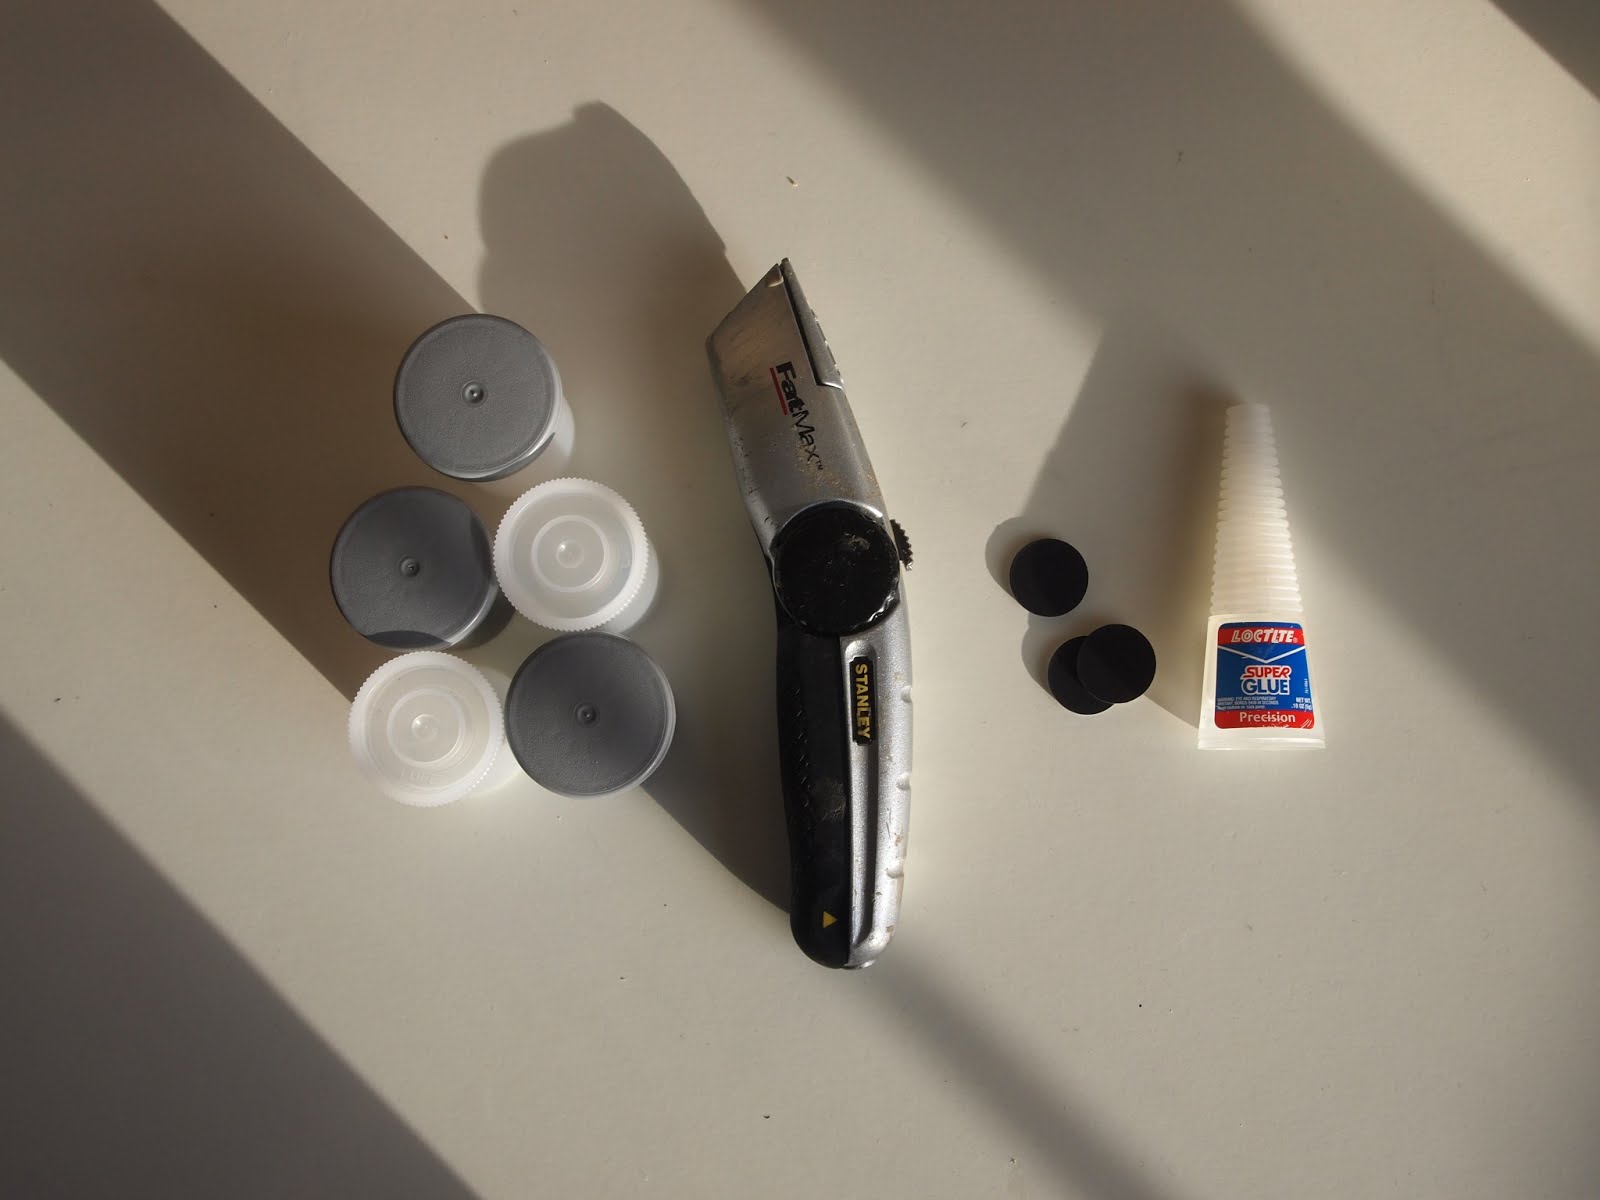
You’ll need these materials:
  • 35mm film canisters- however many stands you’d like to make (one canister makes one holder)
  • Box cutter
  • magnets, small enough to fit inside of the film canisters (two magnets for every photo holder)
  • Super glue
  • A writing utencil
  • A cardboard box


Steps
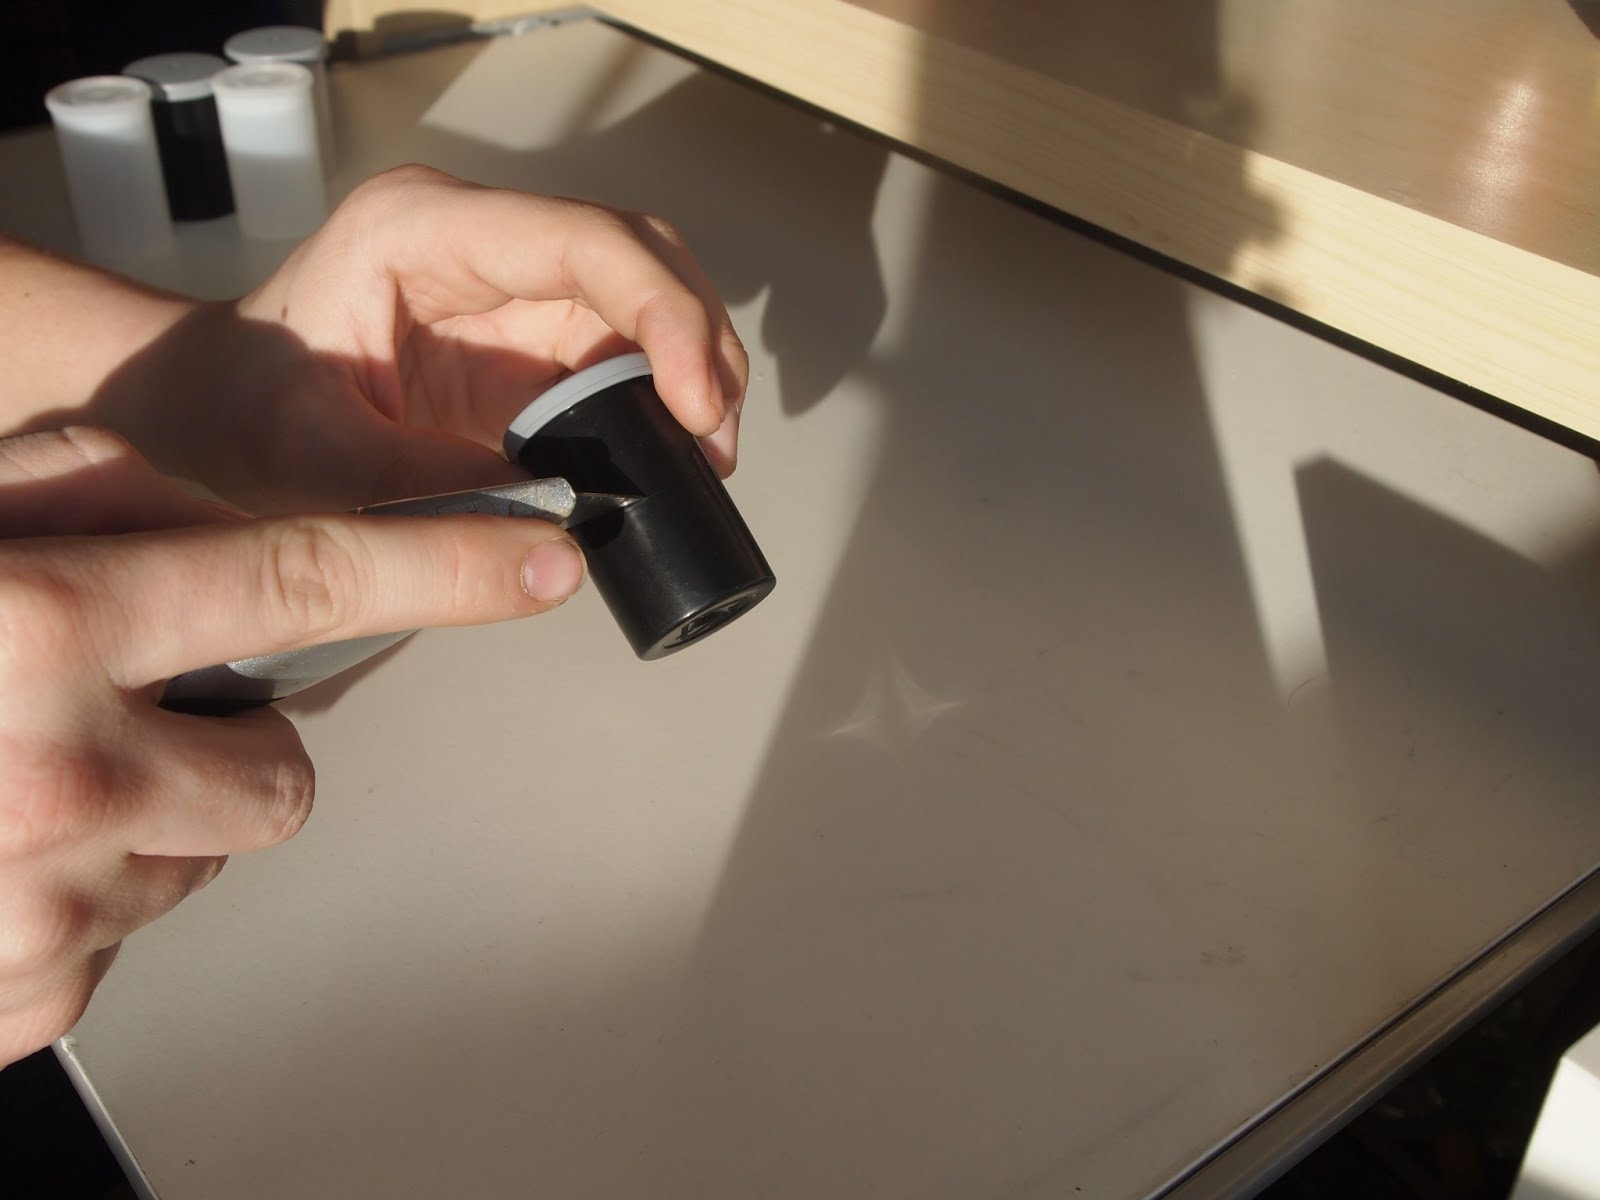
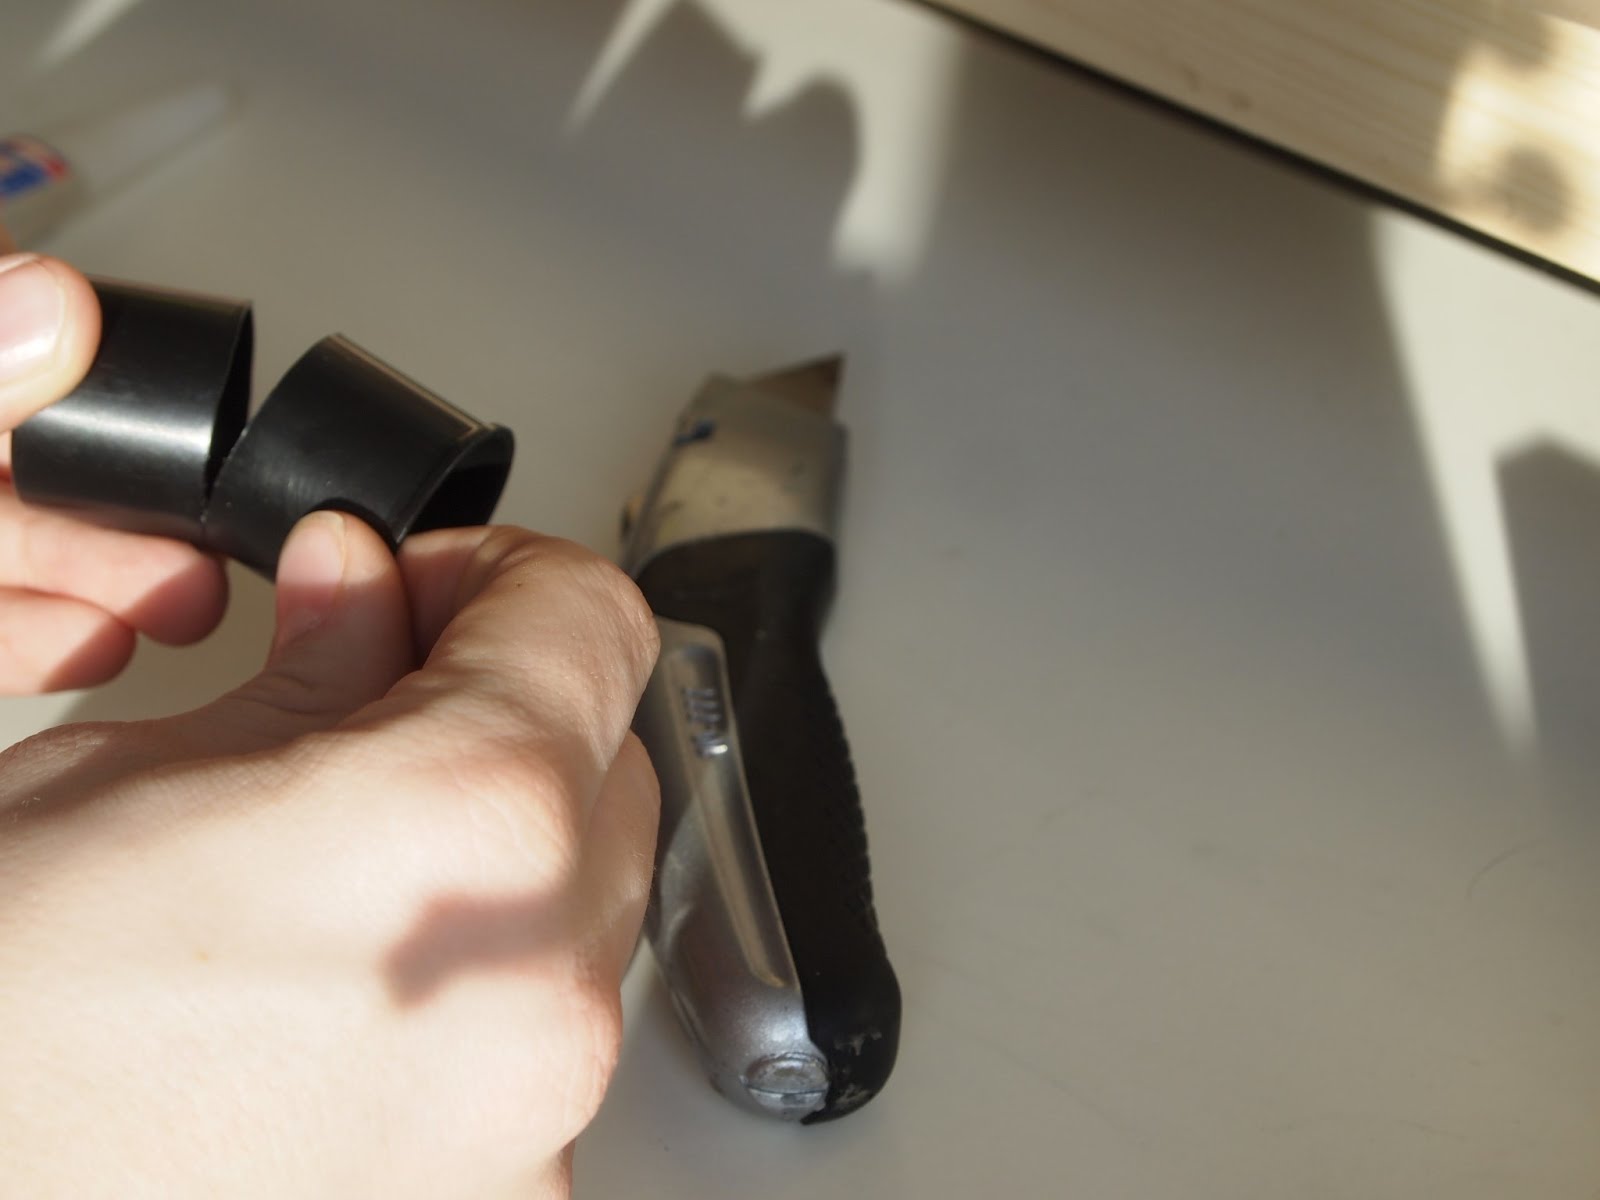
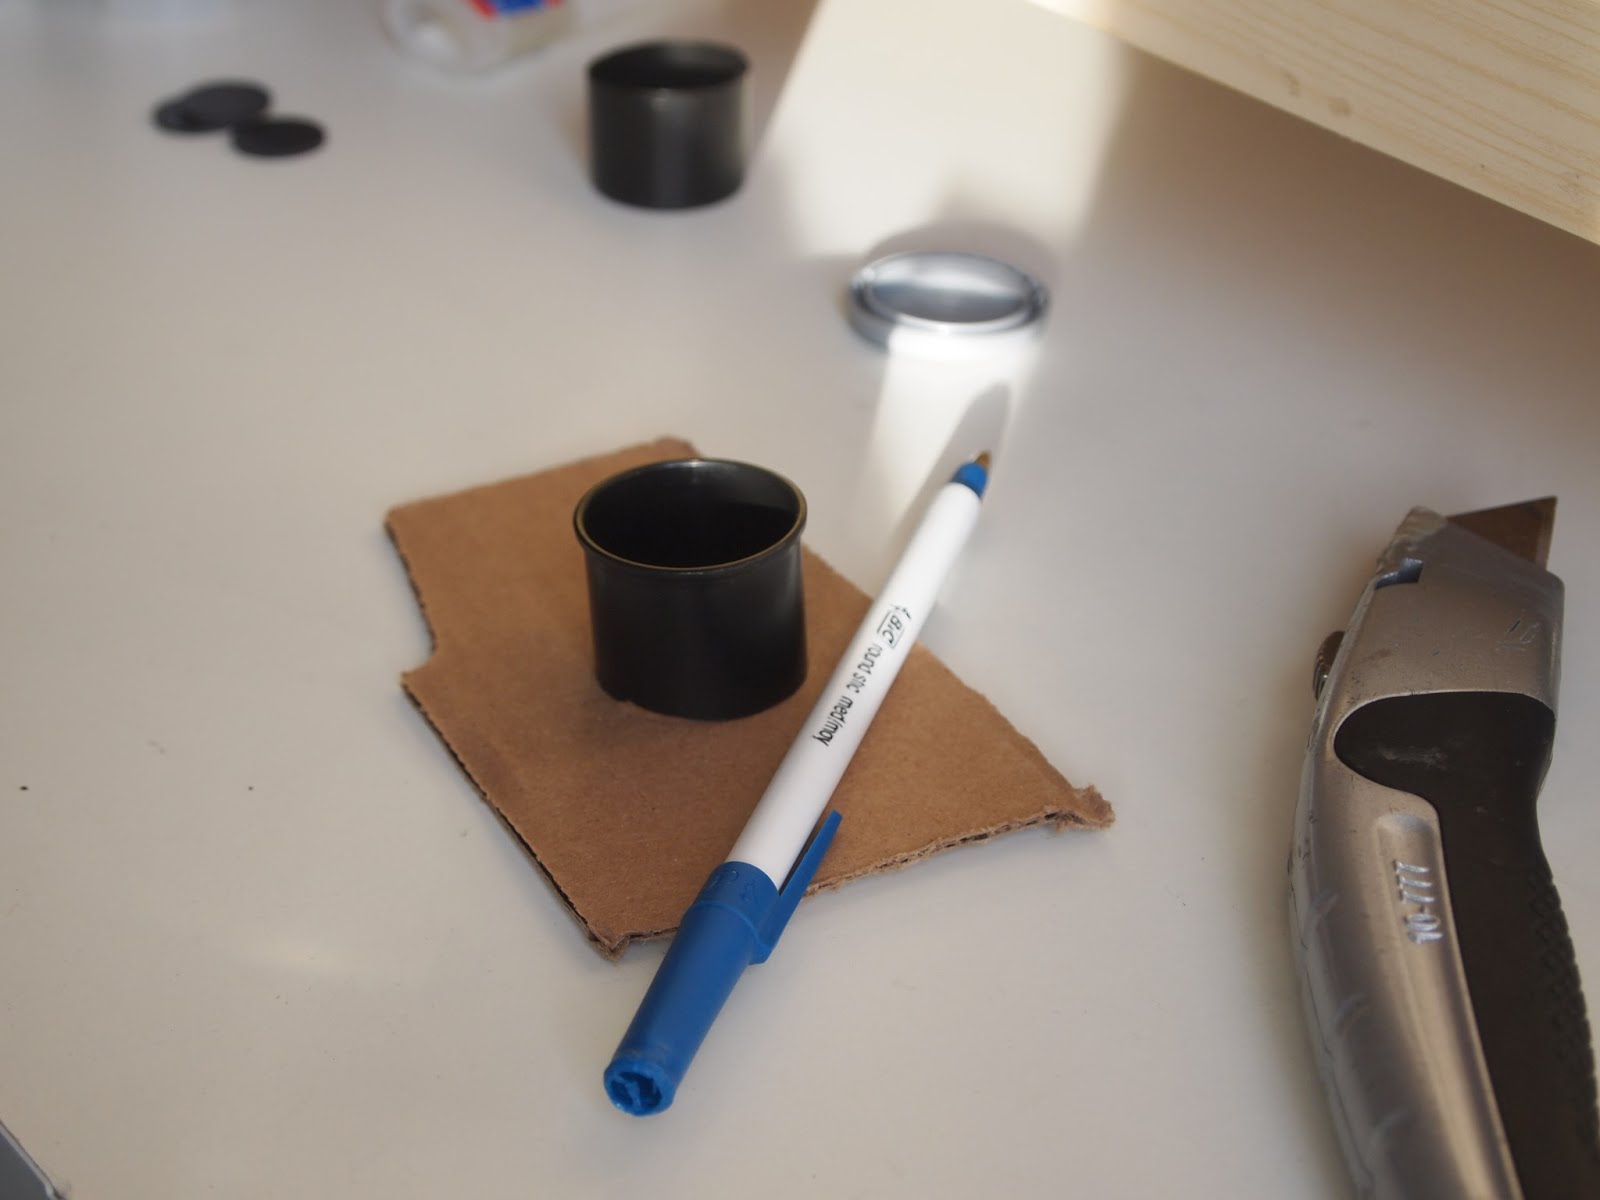
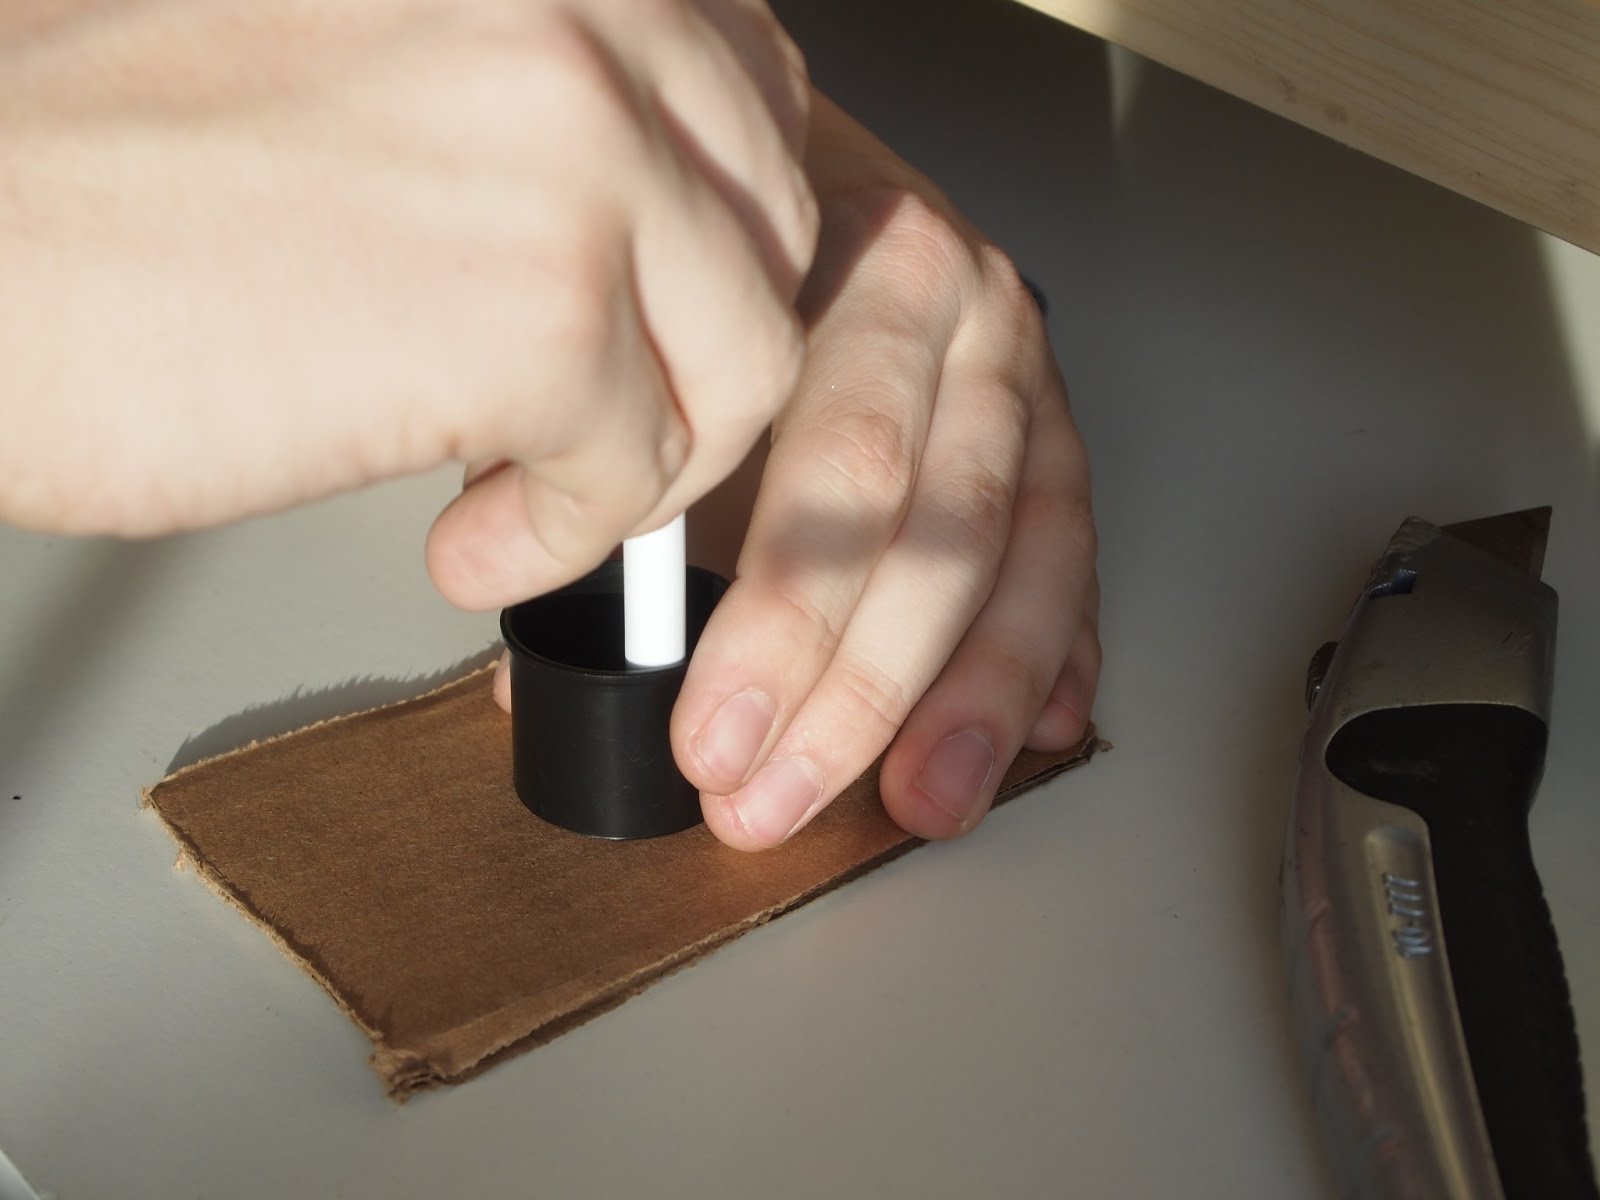
1. Take the box cutter and cut one canister all the way around the middle. Try to make it as straight as possible but it doesn’t need to be perfect.


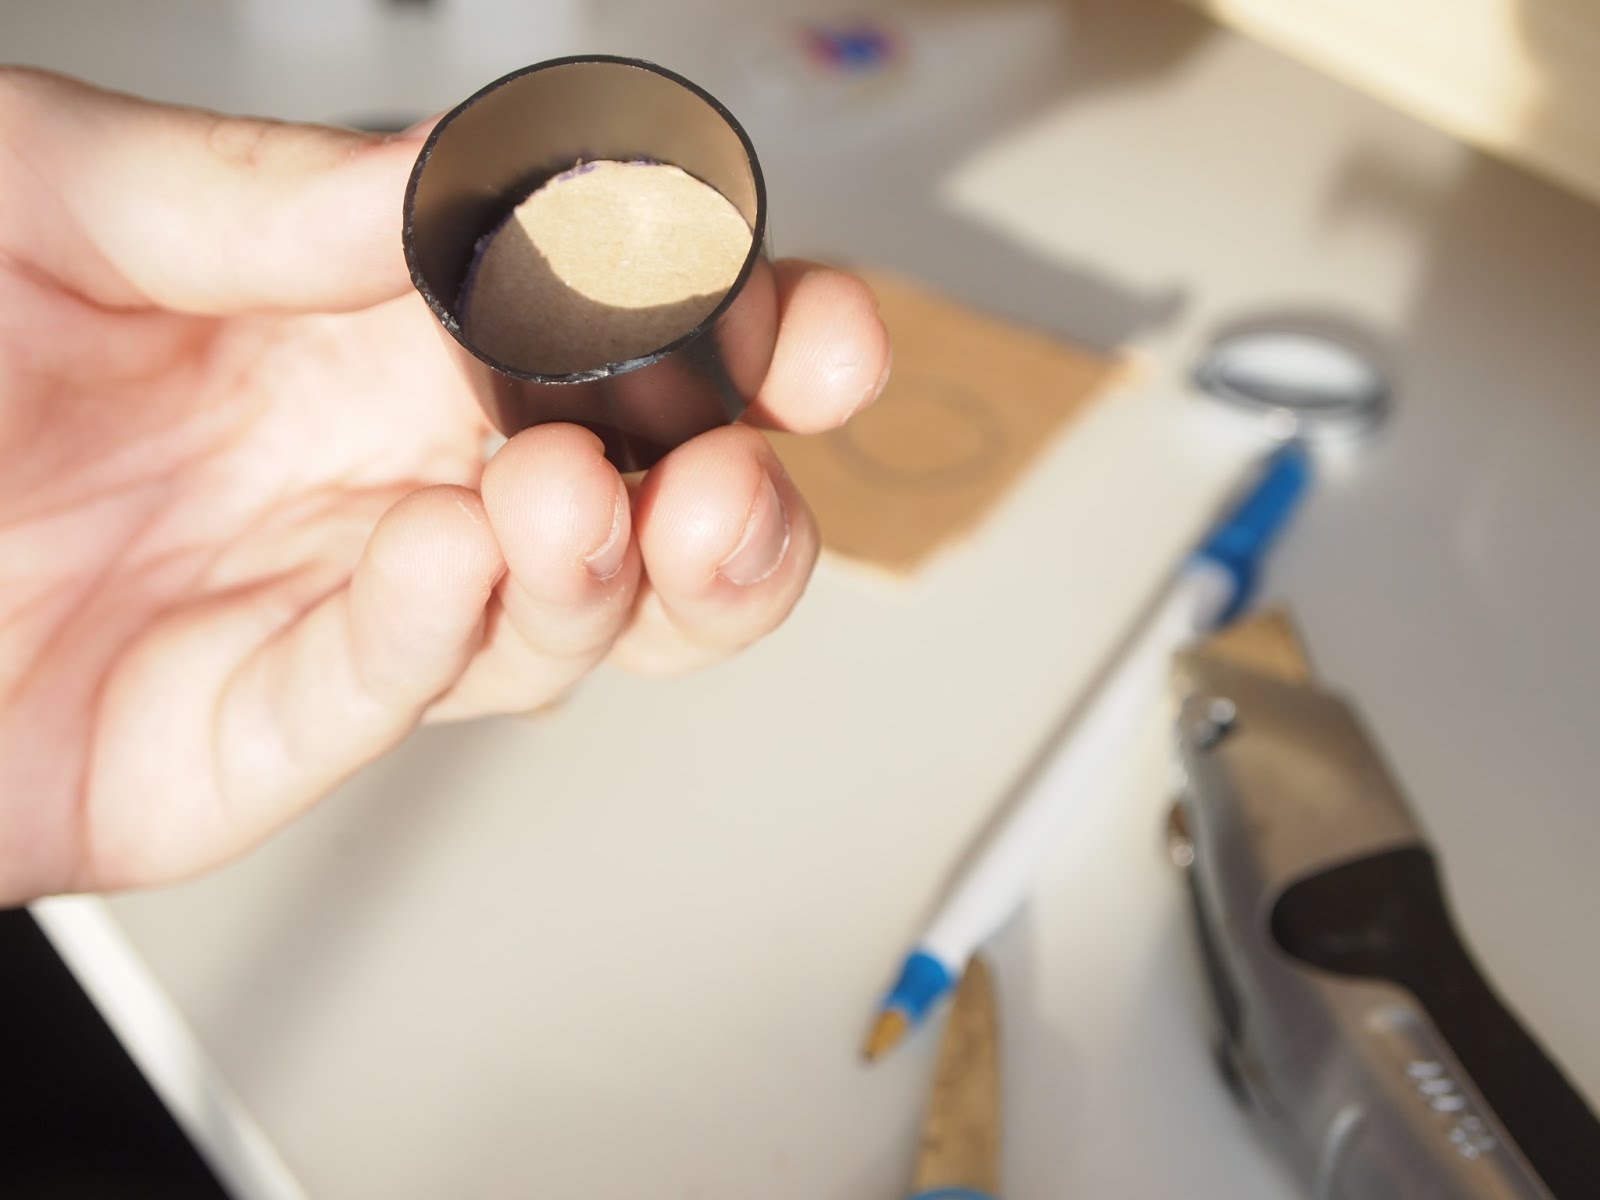
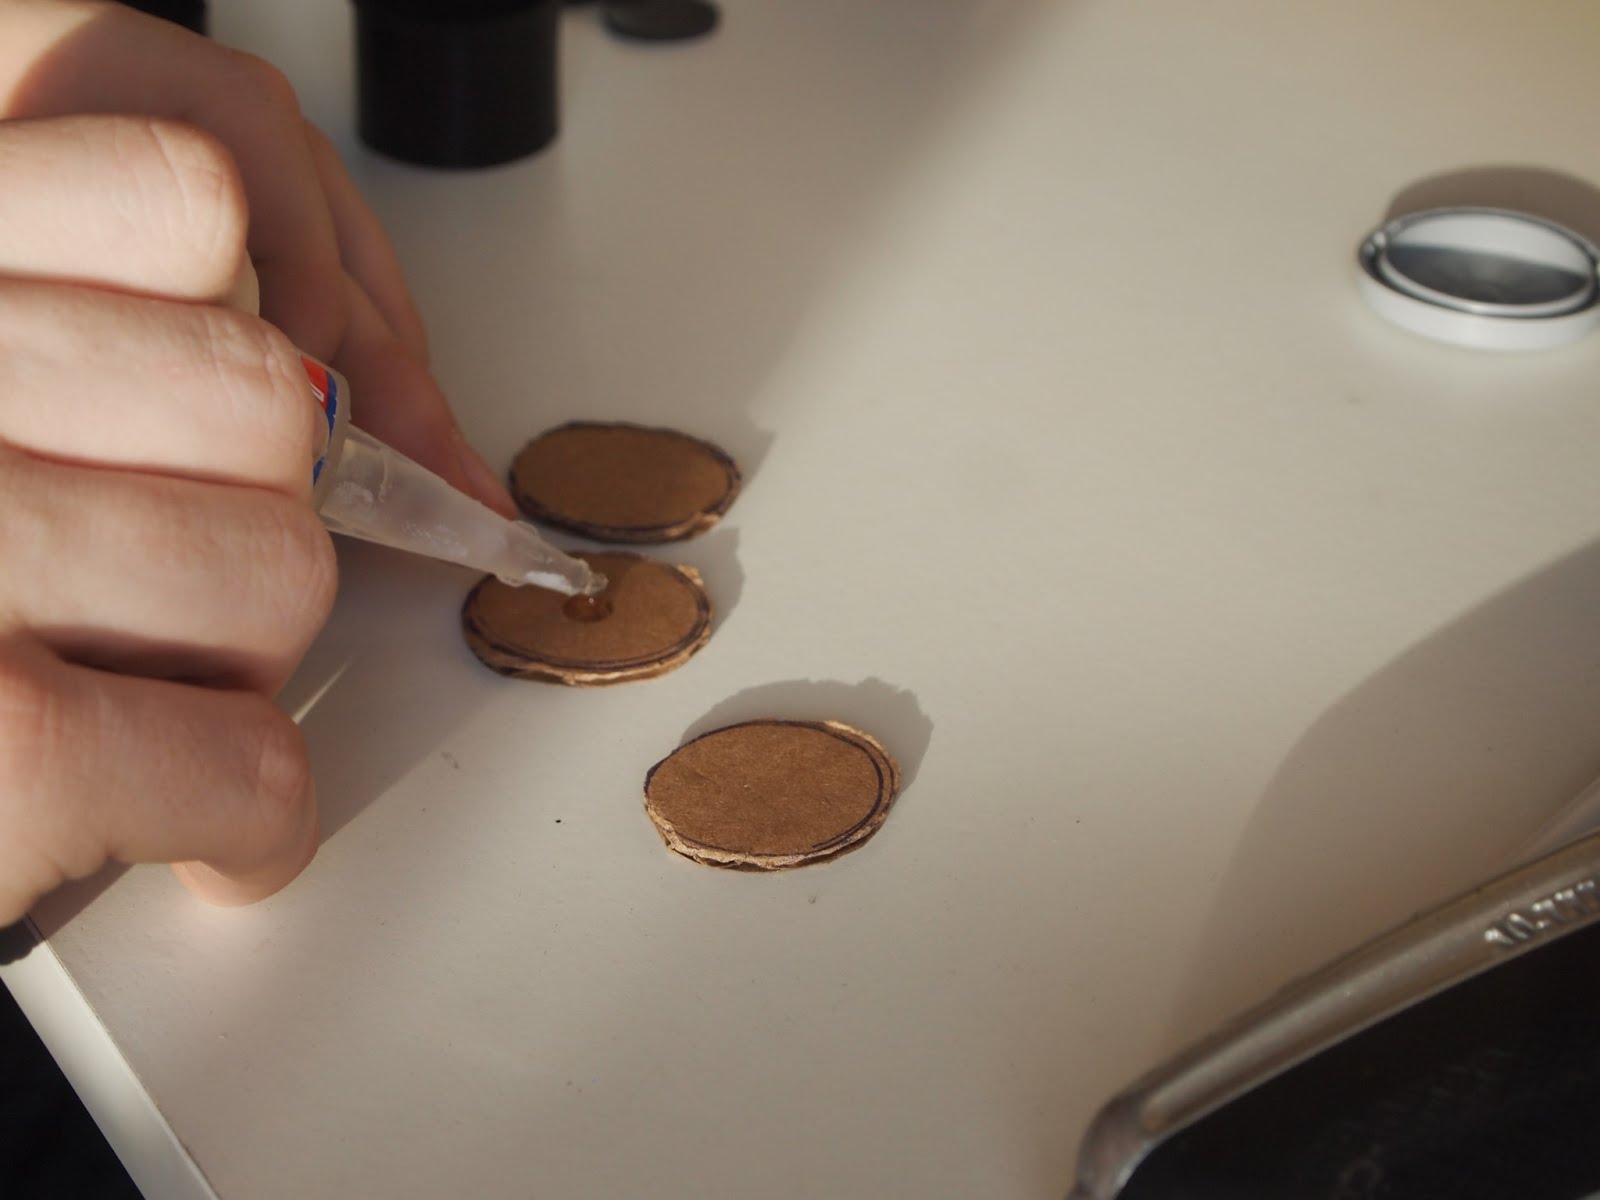
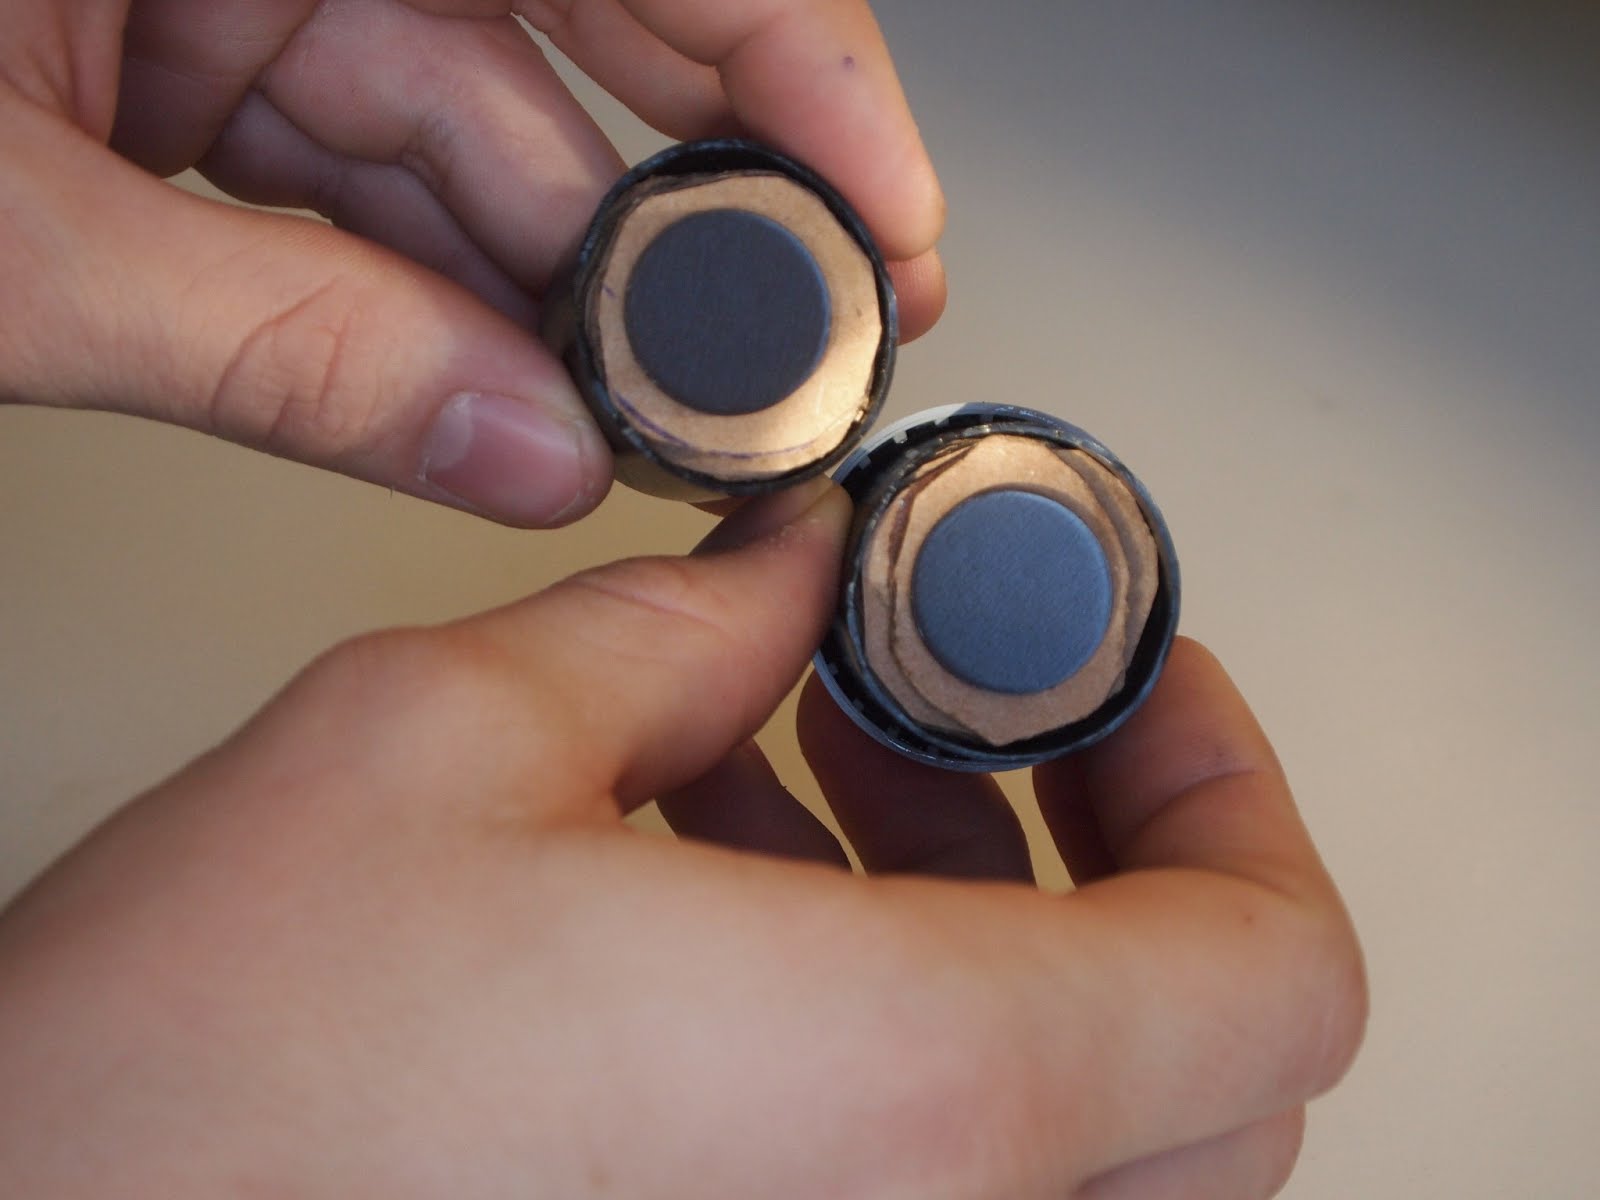
2. Cut off a section of the box and trace the inside of the canister on the cardboard. Cut out the circles and repeat this step until you have about ten pieces, you will need enough to fill both sides of the canister.


3. You’ll need to fill up each side of the canister with the cardboard circles. Put a dot of super glue on the bottom of each side and place a circle on top. Continue putting glue on each piece until each sides are filled nearly to the top.


4. Lastly, glue one magnet to each side of the canister. Make sure that the sides of the magnets that face out are opposites so they will stick together.


You’re done! Just place your picture between the two magnets and... walah!


------------------------------------------------------------------------------------------------------------

Thank you for reading this weeks Film DIY 

Check back on the First Sunday of every month for more fun things to do with film!

Look for our Interview with Tuck Chaylor next sunday

©Analog Revival 2013